
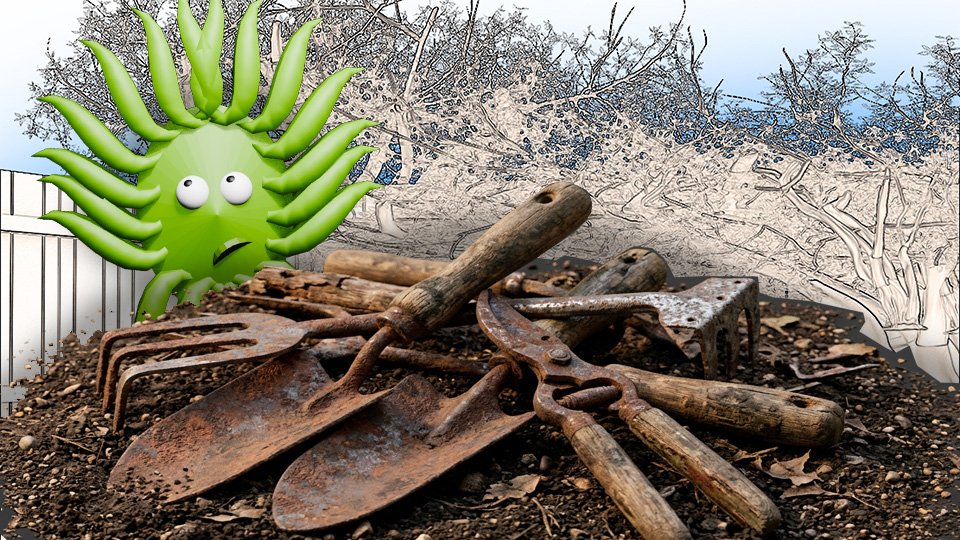
Garden tools are an investment. Not a dramatic investment — we’re not talking about jewelry — but a set of quality tools represents real money and represents more real money when you have to replace them every few years because they rusted, warped, or deteriorated in storage.
The good news about tool storage is that doing it correctly is almost embarrassingly simple. The bad news is that most people don’t do it, which is why most sheds contain at least one tool that has seen better decades.
Here’s the complete system — for hanging, organizing, cleaning, and maintaining tools so they’re ready when you need them and last as long as they should.
❌ What Destroys Tools
- Moisture. The primary enemy. Metal rusts. Wood rots. Tools left on damp ground, stored in a wet shed, or put away with soil still on the blade deteriorate from the inside out. Moisture is the reason tools fail prematurely more than any other factor.
- UV exposure. Handles left in direct sun dry out and crack. Plastic components become brittle. A tool stored in the sun or leaned against an outside wall ages faster than one stored inside.
- Physical damage. Tools leaned against walls fall over. Falling tools bend tines, chip blades, and crack handles. Tools thrown in a pile damage each other at contact points. How tools are stored physically affects how long they last.
- Neglect between uses. Soil left on blades. Wooden handles never oiled. Springs never lubricated. Small maintenance steps skipped indefinitely produce tools that fail at inconvenient moments.
✅ The Storage System
🪝 Step One: Hang Everything
Tools hung off the ground on hooks or a rack stay dry, stay accessible, and don’t damage each other. A wall-mounted tool rack — either a commercial product or hooks screwed into a board — is the single most impactful storage improvement.
Long-handled tools (spades, forks, hoes, rakes) hang from hooks by the handle or sit in a floor-standing rack that holds them upright. Neither method has them touching the floor or leaning against walls where they can fall.
Hand tools (trowels, shears, hand forks) hang from hooks by a hole drilled in the handle, or sit in a bucket of clean dry sand. The bucket method keeps them upright, accessible, and slightly protected against rust.
🚧 Step Two: Clean Before Storing
Every tool that comes in from the garden gets cleaned before storage. Remove soil from metal surfaces. Wipe dry. Apply a thin coat of oil to metal parts. This takes thirty seconds per tool and prevents the majority of rust formation.
Wooden handles benefit from an annual application of linseed oil, which penetrates the grain and prevents drying and cracking. Do this at the end of the season before winter storage. It takes five minutes for an entire shed’s worth of handles.
🏛️ Step Three: Environment Matters
A dry shed or garage is the right storage environment. A damp basement is not. A tool storage area with good airflow stays drier than a sealed space.
For small spaces without a shed: a lidded outdoor storage box in a sheltered location works. Look for one with ventilation to prevent condensation buildup inside. It’s not ideal but it’s better than leaning tools against the house and hoping for the best.
📋 Step Four: End of Season Deep Maintenance
Once a year — the end of the growing season is the natural moment — go through the entire tool collection.
- Sharpen cutting edges. Spade blades, hoe blades, pruning shears, loppers. A sharp tool does better work and requires less effort. A file or sharpening stone on each cutting edge, following the existing bevel angle.
- Check handles. Cracks, splinters, or wobble in the handle-to-blade connection mean the handle needs replacement or reinforcement. A loose handle on a sharp-bladed tool is a safety issue.
- Oil everything. Linseed oil on wooden handles. Light machine oil on springs and pivot points of shears and loppers. Thin protective coat on metal blades.
- Replace what can’t be saved. A tool with a cracked blade or badly rusted metal beyond recovery is a hazard and a liability. Replace it rather than carrying it into another season.
🛒 Storage Solutions Worth Having
- Wall-mounted tool organizer with hooks — Adjustable hooks for tools of any size. Keeps everything visible, accessible, and off the floor.
- Freestanding tool rack — For sheds without wall space. Holds long-handled tools upright without drilling.
- Linseed oil for wooden handles — Annual handle treatment that prevents cracking and extends the life of wooden tools significantly.
- Outdoor storage bench with lid — For gardeners without a shed. Weatherproof, ventilated, and doubles as seating.
- Garden tool sharpener — For maintaining edges on spades, hoes, and loppers. The end-of-season step that makes every cutting task easier next year.
As an Amazon affiliate, I earn from each qualifying purchase. Thank you for supporting TangleWicket.
✨ The Short Version
Hang tools off the ground. Clean them before storing. Keep them in a dry environment. Oil the metal and the handles. Do a deep maintenance pass at the end of the season.
Five habits. Decades of useful tools.
Tom Brownthumb once found a spade in his garden that had been there since the previous owner. It had been there for seven years. He used it as a cautionary tale and a garden border.
📚 Related Reads
- How to Keep Tools From Rusting in One Easy Step
- The Five Tools Every New Gardener Actually Needs
- What a Trowel Is For (And What It Isn’t)
TangleWicket is part of the WhistleBump group – find the rest of the family at WhistleBump.com.
31010
©2026 John D Reinhart/Tanglewicket.com – all rights reserved