
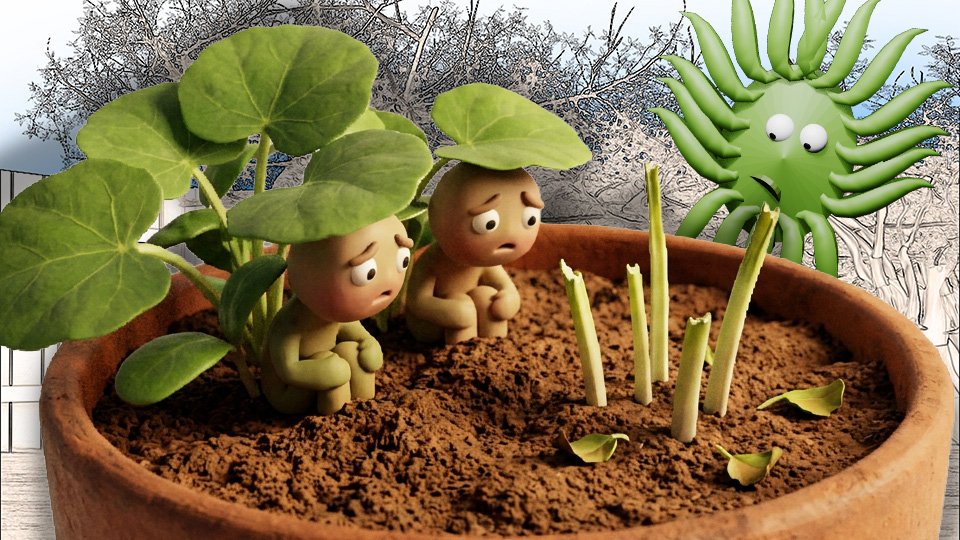
Thinning Seedlings: Why You Have to Kill Some to Save the Rest

Thinning seedlings means deliberately removing plants you just grew. It feels wrong. It is actually correct. Here’s why you have to do it and how to make peace with the process.

You planted seeds. They germinated. Several of them germinated. In fact, too many of them germinated, and now you have a dense thicket of tiny seedlings where the packet said you’d have nicely spaced plants.

The instructions say to thin them. This means removing seedlings so the survivors have enough space to grow properly. You are being asked to pull out and discard plants that you successfully grew from seed, which feels like a betrayal of everything you worked for.

It is not a betrayal. It is the thing that makes the remaining plants actually work. Thinning is as important as planting, and skipping it produces worse results than if you’d planted fewer seeds to begin with.

🤔 Why Crowding Hurts Plants

Plants need space for reasons that are physical, not emotional. Crowded plants compete for three things:

  • Light. Each plant needs direct access to sunlight. Crowded plants shade each other. Shaded plants reach and stretch trying to find light, producing weak, leggy growth. The competition is happening below the soil too.
  • Water and nutrients. Roots compete in the same soil. Crowded roots mean each plant gets less of both. Nutrient-deficient plants are smaller, less productive, and more susceptible to disease and pests.
  • Air circulation. Crowded plants don’t get adequate airflow. Poor airflow leads to fungal problems — mildew, botrytis, damping off. Spacing prevents disease.

The packet’s spacing recommendation exists because someone grew that plant at various densities and determined the minimum space each one needs to perform well. It is not arbitrary.

✂️ How to Thin Without Agony

Wait until seedlings have their first true leaves — the second set of leaves, which look like the plant’s actual leaves rather than the rounded seed leaves (cotyledons) that appear first. True leaves mean the plant is established enough to assess.

Choose the strongest, healthiest seedling in each spacing zone to keep. Remove the others. Use scissors to snip them at soil level rather than pulling them out — pulling can disturb the roots of neighboring seedlings you’re keeping.

The emotional compromise: many thinned seedlings can be eaten. Carrot thinnings are edible. Lettuce thinnings are essentially microgreens. Beet thinnings are delicious sautéed with butter. You’re not wasting them — you’re harvesting early.

📏 Spacing Reference

  • Carrots: thin to 2-3 inches apart.
  • Beets: thin to 3-4 inches apart.
  • Lettuce: thin to 6-8 inches for full heads, 4 inches for leaf lettuce.
  • Radishes: thin to 2 inches apart.
  • Kale and chard: thin to 12-18 inches apart.
  • Beans: thin to 4-6 inches apart.

The seed packet spacing applies here. When in doubt, check the packet.

🛒 Tools That Help

  • Micro-tip scissors — For snipping thinned seedlings cleanly at soil level without disturbing neighbors. More precise than fingers, less disruptive than pulling.
  • Ruler or spacing tool — For checking actual spacing against the recommended distance. Easier than estimating by eye.

As an Amazon affiliate, I earn from each qualifying purchase. Thank you for supporting TangleWicket.

✨ The Short Version

Thinning is not failure. It is the step that turns a crowded mess into a productive garden. Plants need space for light, water, nutrients, and airflow. Crowded plants get none of those things adequately.

Snip at soil level. Keep the strongest seedling. Eat the ones you remove if they’re edible.

Tom Brownthumb once refused to thin his carrots. He grew a very enthusiastic ball of orange confusion.

📚 Related Reads


TangleWicket is part of the WhistleBump group – find the rest of the family at WhistleBump.com.

30009

©2026 John D Reinhart/Tanglewicket.com – all rights reserved
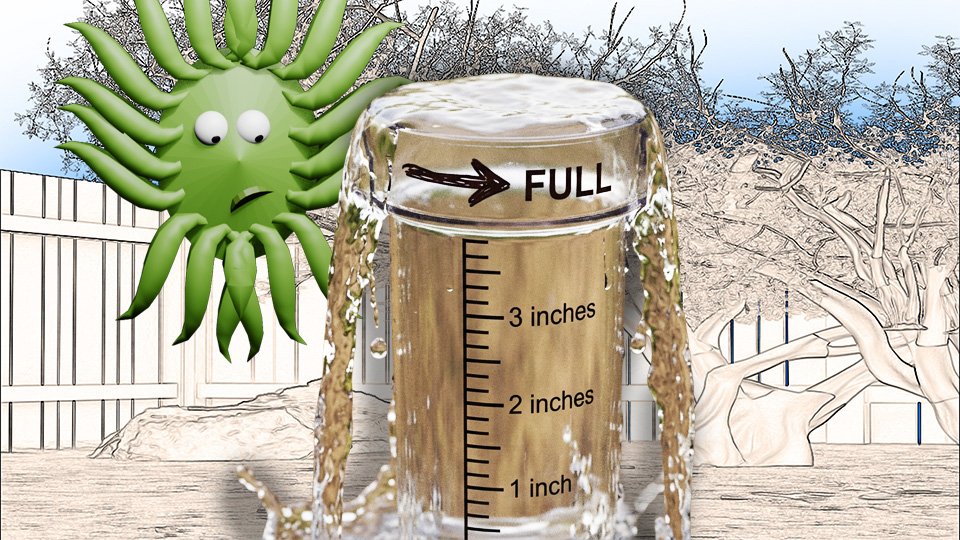
Rain Gauges: The Cheapest Tool That Tells You the Most

A rain gauge costs fifteen dollars and tells you the one thing every watering decision in your garden depends on. Here’s why it’s the most underrated tool in the garden.

The rain gauge is not exciting. It does not have a motor or a blade or a telescoping handle. It is a tube with measurements on the side that you stick in the ground and check after it rains.

It is also the tool that answers the question every garden watering decision depends on: did it rain enough this week, or do I need to supplement?

Without a rain gauge, this question gets answered by weather app, by memory, by looking at the ground, and by a general sense of whether it felt like it rained. None of these are accurate. The rain gauge is.

🤔 Why You Can’t Estimate Rainfall

The amount of rain that falls during a storm is highly variable and counterintuitive. A storm that sounds impressive, that keeps you inside, that you would describe as “good rain,” may have delivered a quarter inch. A steady drizzle that barely seemed worth a coat may have delivered three-quarters of an inch over several hours.

The weather app is not your garden. It reports precipitation at the nearest weather station, which may be several miles away in a different microclimate. Localized storm patterns mean your garden and the weather station can receive meaningfully different amounts.

Garden plants need approximately one inch per week. Knowing whether this week’s rain delivered that inch, or half of it, or twice it, is the difference between watering correctly and either over or under supplementing.

📏 How to Use One

Place the gauge in an open area of the garden — away from trees, overhangs, or anything that would block or funnel rain into it artificially. After each rain event, read the measurement. Reset it to zero.

Track weekly totals. If the week’s rainfall reaches one inch, you don’t need to irrigate. If it reaches half an inch, supplement with half an inch from the hose. If it reaches nothing, your plants have been depending on stored soil moisture and need attention.

The math is simple and the information is completely reliable. It’s a tube with numbers on it that has been solving this problem since the seventeenth century.

🔧 Types of Rain Gauges

  • Standard tube gauge. A cylinder mounted on a stake, open at the top, with measurement markings. Read it manually after rain. Costs upwards of fifteen dollars. Completely accurate.
  • Digital gauge with wireless display. Collects data at the garden location and transmits to an indoor display. Some record totals and provide weekly summaries. More convenient for those who don’t want to walk to the garden to check.
  • Tipping bucket gauge. An automated gauge that counts incremental rainfall amounts electronically. More sophisticated than most home gardeners need, but accurate and low-maintenance.

For most home gardeners, the fifteen-dollar tube gauge is all that’s needed. Its simplicity is its advantage. Nothing to charge, nothing to calibrate, nothing to go wrong.

🛒 Worth Buying

As an Amazon affiliate, I earn with each qualifying purchase. Thank you for support TangleWicket.

✨ The Short Version

A rain gauge costs ten dollars and answers the one question every watering decision depends on. It is the most underrated tool in the garden by a significant margin.

Put it in an open spot. Check it after rain. Add up the week. Water only what nature didn’t provide.

Tom Brownthumb estimated rainfall by feel for three seasons. His estimates were wrong approximately seventy percent of the time. The fifteen-dollar tube fixed this.

📚 Related Reads


TangleWicket is part of the WhistleBump group – find the rest of the family at WhistleBump.com.

32007

©2026 John D Reinhart/Tanglewicket.com – all rights reserved
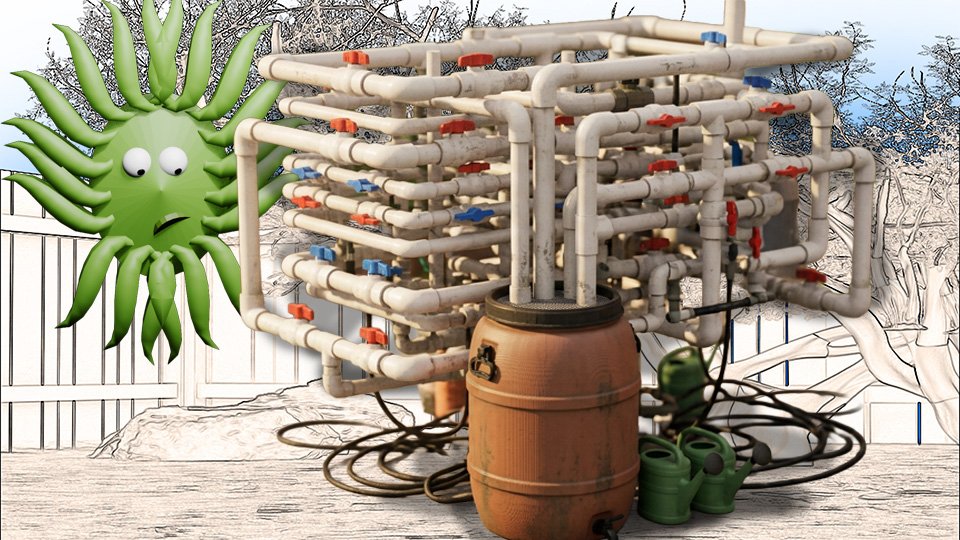
Building a Simple Rain Barrel System

A rain barrel collects free water from your roof and makes it available for your garden. Here’s how to build a simple system, what it saves, and what it can’t do.

Every time it rains, your roof collects an impressive volume of free water and sends it down the downspout, through the storm drain, and away. A rain barrel intercepts that water, stores it, and makes it available for your garden.

A basic rain barrel system is not complicated. It is one barrel, one downspout diverter, and one spigot. It takes an afternoon to set up, costs fifty to a hundred dollars in materials, and produces free garden water for the life of the barrel.

Here’s how to build a simple system — what you need, how it works, how much water you can realistically collect, and the few limitations worth knowing about.

💧 How Much Water You Can Collect

The math is more impressive than you’d expect. One inch of rainfall on a thousand square feet of roof produces approximately 600 gallons of water. A typical house with 1500 square feet of roof area and several downspouts generates thousands of gallons of collectable water per year.

A standard 55-gallon rain barrel fills quickly. A moderate rainstorm can fill a single barrel in minutes. This is why more serious rain harvesting systems use multiple barrels linked together or larger cisterns.

For the beginner, a single 55-gallon barrel is the starting point. It won’t water your entire garden through a drought, but it handles routine supplemental watering and reduces your water bill meaningfully over a season.

🔧 The Basic System Components

  • The barrel. A 55-gallon food-grade drum is the standard. Used barrels that previously held food products (olive oil, juice, food-grade chemicals) are safe for garden water collection. Dedicated rain barrel products are also available and include all necessary hardware.
  • Downspout diverter. Installs in the downspout and redirects water into the barrel when it’s collecting, bypasses to the downspout when the barrel is full. Keeps the system from overflowing onto your foundation when the barrel capacity is reached.
  • Overflow hose. Directs overflow away from the house foundation. Even with a diverter, excess water needs a place to go that isn’t the side of your house.
  • Spigot at the base. Allows you to connect a hose or fill a watering can. Positioned at the bottom of the barrel for gravity flow.
  • Screen or mesh over the inlet. Keeps mosquitoes from breeding in the standing water and debris from entering the barrel.

🚧 Installation

Elevate the barrel on cinder blocks or a dedicated stand. Elevation increases water pressure from the spigot — a barrel sitting on the ground produces almost no pressure. Twelve to eighteen inches of elevation produces enough flow to fill a watering can easily.

Cut the downspout at the right height for your diverter. Install the diverter per its instructions. Connect the inlet hose to the barrel. Install the overflow hose. Fill the barrel’s inlet hole with mesh screen. Done.

The whole installation takes two to three hours with basic tools. No plumbing knowledge required.

🚧 What Rain Barrels Can’t Do

  • Supply adequate pressure for drip systems. Gravity-fed rain barrel pressure is low — typically less than one PSI. This is enough for a watering can or gentle hose flow but not enough to run a drip irrigation system at the pressure it requires. Drip systems need household water pressure.
  • Cover drought-level demand. One barrel is supplemental, not a complete replacement for municipal water during extended dry periods. For more significant water independence, multiple linked barrels or a larger cistern is needed.
  • Collect potable water. Rain barrel water is appropriate for gardens and lawns, not for drinking. Roof runoff collects contaminants from shingles, gutters, and atmospheric pollutants. Fine for plants, not for people.

💰 The Economics

A fifty-dollar rain barrel setup that collects 200 gallons of rain per month during the growing season saves roughly 600 gallons per season. At typical municipal water rates, that’s a modest but real saving. In areas with water restrictions or high water costs, the savings are more significant.

The real value is less the water bill and more the availability. Rain barrel water is available during hose restrictions and dry spells, from a source that replenishes itself without billing you.

🛒 What to Buy

  • Complete rain barrel kit — Includes barrel, diverter, overflow, spigot, and instructions. The lowest-friction way to start a rain collection system.
  • Downspout diverter (standalone) — For adding to an existing barrel setup or replacing a failed diverter.
  • Rain barrel stand — Elevates the barrel for improved pressure. More stable than cinder blocks and purpose-built for the load.
  • Linking kit for multiple barrels — For connecting two or more barrels to increase storage capacity. The natural next step once the single-barrel system is working.

As an Amazon affiliate, I earn from each qualifying purchase. Thank you for supporting TangleWicket.

✨ The Short Version

A rain barrel collects free water from your roof and stores it for garden use. It takes an afternoon to install, costs fifty to a hundred dollars, and produces supplemental water for the life of the barrel.

One barrel is the starting point. Elevation improves pressure. Overflow management protects the foundation. Screen keeps mosquitoes out.

Tom Brownthumb installed a rain barrel and then watched it fill during the first storm with unreasonable satisfaction. Free water. Every rainstorm. It remains one of his better afternoons.

📚 Related Reads


TangleWicket is part of the WhistleBump group – find the rest of the family at WhistleBump.com.

32010

©2026 John D Reinhart/Tanglewicket.com – all rights reserved
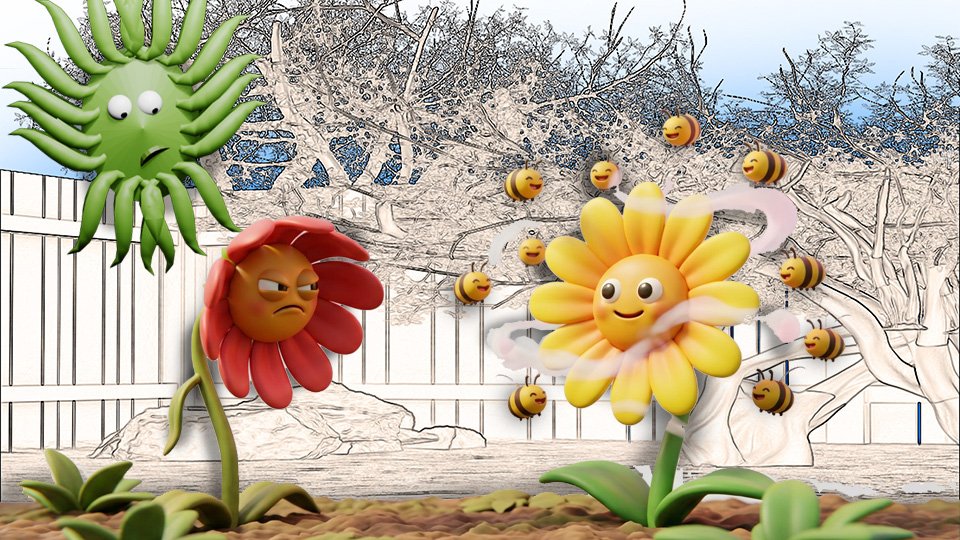
Why Some Flowers Smell and Some Don’t

The marigolds smell. The petunias smell. The gorgeous hybrid tea rose you paid thirty dollars for smells like absolutely nothing. This is not random. Here’s what’s going on.

Tom Brownthumb bought a hybrid tea rose. The color was extraordinary — a deep coral with cream edges, the kind of thing that makes you stop at the garden center and pick it up without intending to. He brought it home, planted it, tended it carefully, and when it bloomed, he leaned in for the scent.

Nothing. The flower smelled like a slightly damp afternoon.

This is not bad luck. This is plant breeding. And it explains a surprising amount about modern gardening.

🌹 Why Fragrance Got Bred Out

Flower fragrance is produced by volatile organic compounds — aromatic molecules that evaporate from the flower and travel through the air to attract pollinators. Fragrance is, from the plant’s perspective, an advertisement. It is how the flower announces itself to bees and moths from a distance.

When plant breeders began developing flowers primarily for visual characteristics — larger blooms, more unusual colors, longer vase life, more petals — fragrance was often a casualty. The genetic traits that produce abundant petals and extreme colors are not always compatible with the traits that produce strong scent. Breeders optimized for what sells on a garden center shelf, and fragrance is hard to see from three feet away.

The result: many modern hybrid flowers are visually spectacular and nearly scentless. Old-fashioned and heritage varieties often have far more fragrance than their modern counterparts, but smaller or less dramatic blooms.

🌼 Which Flowers Actually Smell

Reliably fragrant plants you can grow include: lavender (intensely fragrant, drought-tolerant, beloved by bees), sweet alyssum (honey-scented, low-growing, blooms for months), stock (Matthiola — intensely clove-scented, especially in the evening), night-blooming jasmine (releases scent after dark), sweet peas (one of the most beloved flower scents, worth the effort of growing from seed), and old-fashioned roses — particularly David Austin varieties, which were bred specifically to restore fragrance to the rose family.

Marigolds also have a scent, though “fragrant” is generous — it is a pungent, resinous smell that some people love and others find overwhelming. Pollinators, interestingly, do not share the ambivalence. They visit marigolds enthusiastically regardless.

🌙 Evening Fragrance

Some flowers release their scent primarily at dusk and through the night, when the moths that pollinate them are most active. Four o’clocks (which open in late afternoon), evening primrose, and moonflowers all fall into this category. They are nearly scentless in full sun and intensely fragrant after dark.

A garden with evening-scented plants near a patio or window is one of the genuine pleasures of flower gardening. It is also one of the least-marketed ones, since the scent doesn’t show up in a photograph.

🔍 What to Look For When Buying

If fragrance matters to you — and for many gardeners it matters more than color — look for “fragrant” or “scented” in the plant description. For roses specifically, look for heritage varieties, David Austin (English roses), or old garden rose classifications. These are the ones that smell like roses used to smell.

When in doubt at the garden center, lean in and smell before you buy. This is not eccentric. This is research.

🛒 Gear Worth Having

As an Amazon affiliate, I earn from qualifying purchases. Thank you for supporting TangleWicket.

📖 Related Reads


TangleWicket is part of the WhistleBump group – find the rest of the family at WhistleBump.com.

36010

©2026 John D Reinhart/Tanglewicket.com – all rights reserved
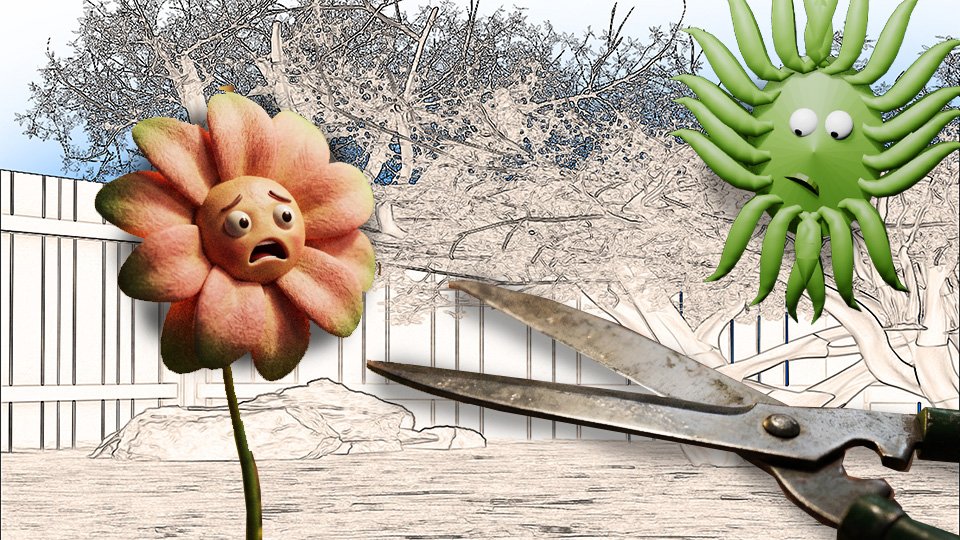
Cutting Flowers for the House Without Killing the Plant

Cutting flowers from your garden for the house is one of the genuine pleasures of growing them. Here’s how to do it without setting the plant back.

The first time Tom Brownthumb cut a flower from his own garden and put it in a vase on the kitchen table, he felt like a person who had figured something out. The flower was a zinnia. It was orange. It lasted eleven days.

What he did not know, and then learned, is that cutting the flower was also the best thing he could have done for the plant. More flowers followed. The plant, now aware that its blooms were being removed before they could set seed, kept producing.

Cutting garden flowers for the house is not a sacrifice. It is, for most plants, management. Here’s how to do it right.

⏰ When to Cut

The best time to cut flowers is early morning, before the heat of the day. The stems are fully hydrated from the overnight hours, the flowers haven’t been wilted by sun, and the blooms will last longest. The second-best time is evening. Midday, when the plant is stressed by heat, is the worst time.

Cut buds that are just beginning to open, not flowers that are fully open. A bloom that is three-quarters open at cutting will finish opening in the vase and last much longer than one that was already at peak. A fully open flower put in a vase has maybe two or three days left. A bud put in a vase has a week.

✂️ How to Cut

Use clean, sharp scissors or garden snips. A clean cut matters — a crushed or torn stem can’t draw water efficiently, and the flower wilts early.

Cut the stem at a 45-degree angle. This increases the surface area available for water uptake and prevents the cut end from sitting flat against the bottom of the vase (which would block water absorption).

Cut longer than you think you need. You’ll trim the stem again before putting it in the vase, and having extra length gives you options for different container heights.

Put the stems immediately into a bucket of water you brought outside with you. Not into your hand, not into a pile on the ground. The moment a stem is cut, it begins drawing air instead of water. Get it into water fast.

💧 In the Vase

Before arranging, re-cut each stem under water — submerge the end in a bowl and make the cut. This eliminates any air pocket that formed between the garden and the vase.

Remove any leaves that will sit below the waterline. Submerged leaves rot quickly and introduce bacteria that shorten vase life dramatically.

Change the water every two days. A clean vase, fresh water, and a re-cut stem will add days to the life of most cut flowers.

🌸 Which Flowers Cut Well

Excellent cutting flowers that grow easily: zinnias (long stems, long vase life, keep producing all season), sunflowers (dramatic, last well), cosmos (airy and delicate, re-cut stems frequently), marigolds (less traditional but long-lasting), gladiolus (elegant, tall, worth growing for this alone), and dahlias (spectacular in a vase, worth every bit of effort they require).

Plants that do not cut well: anything delicate and short-stemmed, most annuals bred purely for compact garden display, and anything with hollow stems that wilt immediately. Read the plant description — “good for cutting” is often listed as a feature when it applies.

🛒 Gear Worth Having

Miracle-Gro for Fresh Cut Flowers, 8 oz. — Extend vase life vs. water alone. Add three pumps per quart. Re-apply every two to three days.

Sow Right Seeds Large Flower Farm Collection — Zinnias, Sunflowers, Cosmos & More — A seed collection chosen specifically for cutting. Grow your own vase flowers from scratch.

VIVOSUN 6.5″ Stainless Steel Garden Snips — Clean, sharp cuts every time. The essential tool for a cutting garden.

As an Amazon affiliate, I earn from qualifying purchases. Thank you for supporting TangleWicket.

📖 Related Reads


TangleWicket is part of the WhistleBump group – find the rest of the family at WhistleBump.com.

36008

©2026 John D Reinhart/Tanglewicket.com – all rights reserved
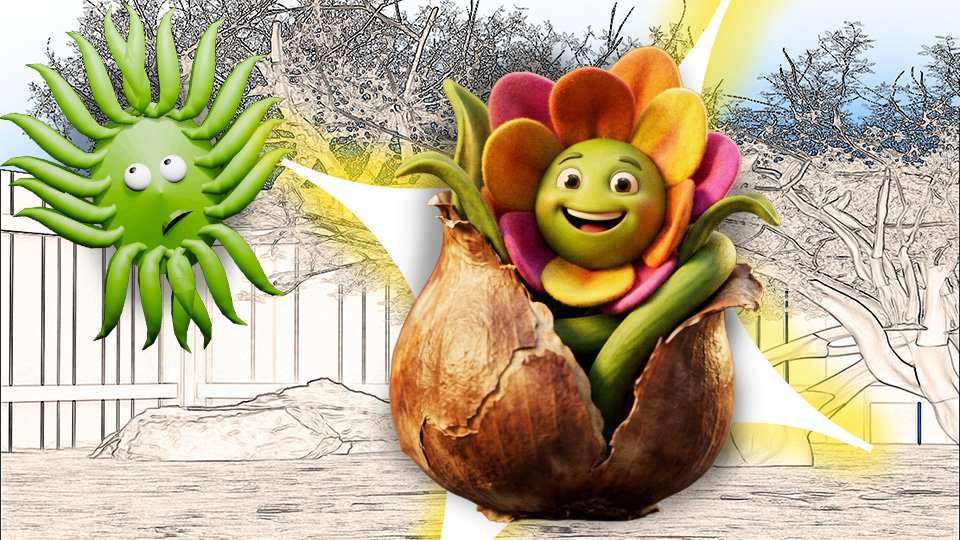
Bulbs: What They Are and Why They’re the Beginner’s Best Friend

A bulb is a flower with a plan. It already knows what it’s going to be. Your job is to put it in the ground and stay out of the way.

Where a seed is a promise, a bulb is a contract.

Inside a flower bulb is a complete plant in miniature — the flower, the leaves, the stem, the nutrients to fuel its first season of growth — all coiled up and waiting. You put the bulb in the ground, you water it, and it does the rest. It is, in terms of gardening difficulty, about as close to a guaranteed outcome as horticulture offers.

This is why bulbs are the beginner’s best friend. They are nearly impossible to mess up.

🌱 What a Bulb Actually Is

A bulb is an underground storage organ — a modified stem or leaf base that the plant uses to store energy over a dormant period. When conditions are right (temperature, moisture, day length), the plant draws on that stored energy to push up through the soil and bloom.

The classic bulbs — tulips, daffodils, hyacinths — are spring-blooming. You plant them in fall, they sit dormant over winter, and they emerge in spring with all the energy they need to bloom already on board. You are essentially pre-loading a plant.

Summer-blooming bulbs — dahlias, gladiolus, lilies — are planted in spring and bloom through summer and early fall. Same principle, different calendar.

📐 The One Thing You Need to Get Right: Depth

The general rule is to plant a bulb at a depth of two to three times its diameter. A large tulip bulb gets planted six inches deep. A small crocus bulb gets planted three inches deep. Err on the side of deeper rather than shallower — a bulb planted too shallow is at the mercy of temperature fluctuations and sometimes gets pushed up by freeze-thaw cycles.

The pointed end goes up. This sounds obvious but it is the mistake that gets made. Flat side down, pointed side up.

After that, water it in and leave it alone. The bulb will find its way.

🌼 Why Daffodils Are the Most Beginner-Friendly

Tulips are beautiful and somewhat fussy over the long term — they sometimes decline in bloom quality after a few years without specific care. Daffodils are not fussy. Daffodils multiply. They naturalize, which means they spread slowly on their own over years, and a small planting becomes a larger one without any intervention from you.

Also: deer don’t eat daffodils. This is a significant advantage in many gardens. Deer will eat almost anything, but they have strong opinions about daffodils, and those opinions are negative. Plant accordingly.

🌸 Summer Bulbs Worth Knowing

Dahlias are the summer equivalent of tulips — spectacular, worth the effort, slightly more work than a wildflower seed packet. They need staking when they get tall and they’re not frost-hardy, so you either treat them as annuals or dig them up in fall and store them. The blooms are extraordinary. Tom Brownthumb thinks they’re worth it.

Gladiolus are easier. Tall, dramatic flower spikes, plant them in spring, enjoy them in summer. They’re also not frost-hardy but they’re cheap enough to treat as annuals.

Lilies — true lilies, not daylilies — are perennial, fragrant, and largely trouble-free once established. A good investment.

🛒 Gear Worth Having

WeGarden 32 Mixed Flower Bulbs for Spring Planting — Dahlia, gladiolus, lily, Dutch iris, and freesia. Pre-planned layered design. A full summer’s worth of blooms in one purchase.

Complete Spring & Summer 100 Bulbs Collection — 100 bulbs, 4 varieties, pollinator-friendly. Beginner-friendly and genuinely easy to grow.

Complete Spring Flower Garden — 50 Fresh Bulbs (Tulips, Daffodils, Gladiolus) — A curated mix from a family farm in Iowa. Blooms from early spring through summer.

As an Amazon affiliate, I earn from qualifying purchases. Thank you for supporting TangleWicket.

📖 Related Reads


TangleWicket is part of the WhistleBump group – find the rest of the family at WhistleBump.com.

36005

©2026 John D Reinhart/Tanglewicket.com – all rights reserved
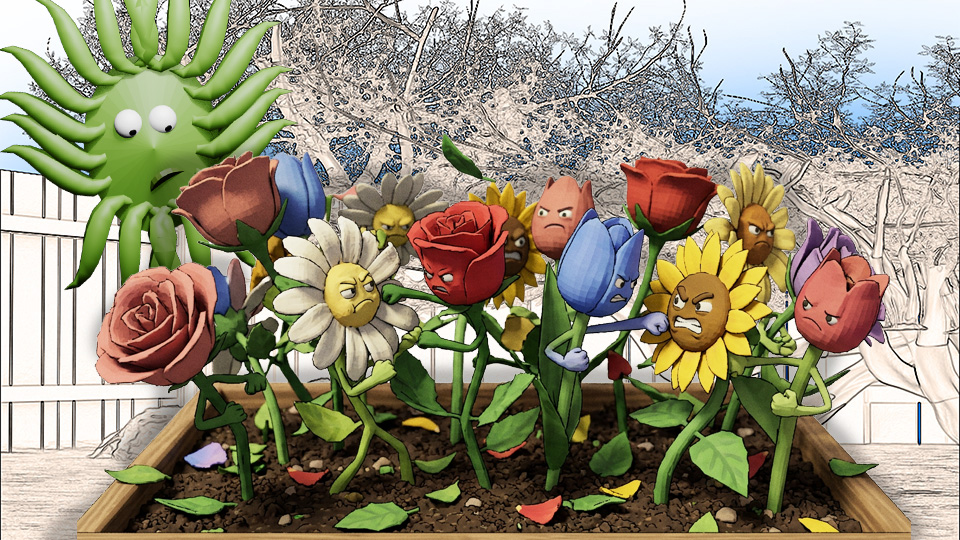
How to Plant a Flower Bed That Doesn’t Look Like an Accident

Most beginner flower beds look like the seeds had a committee meeting and went their separate ways. Here’s how to plant one that looks like you meant it.

The beginner flower bed has a recognizable look. A marigold here, a zinnia there, a petunia that wandered off on its own, a gap where something didn’t germinate and was never replaced. It is identifiable at fifty feet. Not because the gardener lacked effort, but because nobody told them the three rules that separate “I planted some flowers” from “I planted a flower bed.”

Here are the three rules.

📐 Rule One: Tall in the Back, Short in the Front

A flower bed is a stage. The tall plants are the backdrop, the medium plants are center stage, and the short plants are the front row. If you plant tall things in front, they block everything behind them. If you plant short things in back, nobody sees them.

This sounds obvious but it requires planning before you plant, not after. Read the plant tag or seed packet before you buy, not after you’ve already put it in the ground.

General height zones: back of the bed — anything over 24 inches (gladiolus, tall zinnias, black-eyed Susans, coneflowers). Middle — 12 to 24 inches (marigolds, cosmos, salvia). Front — under 12 inches (alyssum, lobelia, dwarf marigolds, creeping phlox).

Within each zone, variation in height is fine. Uniformity is not the goal. The goal is visibility: every plant should be seeable from the front of the bed.

🎨 Rule Two: Mass, Don’t Scatter

A single marigold is a plant. Seven marigolds in a cluster are a statement. The beginner instinct is to space plants evenly across the entire bed, one of each variety, like a botanical inventory. The result looks random because it is random.

Plants read as color masses from a distance. A scattered handful of one color registers as noise. A grouped cluster of the same color registers as design. Plant in odd numbers — threes, fives, sevens — grouped together. Repeat those groups across the bed if the bed is large enough.

You do not need many varieties. Three to five varieties, planted in clusters, produce a more coherent look than fifteen varieties planted one-by-one.

🔲 Rule Three: Define the Edge

The edge of the flower bed is where the garden either looks cared-for or like it gave up. An undefined edge — where lawn grass drifts into the flower bed and the bed drifts back into the lawn — reads as neglect even when the plants themselves look good.

Define the edge with physical edging. This can be as simple as a plastic border pressed into the soil, or as substantial as a metal landscape edging that will last for years. What matters is the clean line: grass on one side, garden on the other, no ambiguity.

The line does not need to be straight. Curves are fine. What it cannot be is vague.

🌿 The Beginner’s Layout That Actually Works

Back row: a repeating group of tall zinnias or coneflowers every 18 inches. Middle: marigolds or cosmos in clusters of three to five. Front edge: alyssum or a low annual in a continuous ribbon along the edging line.

That’s it. Three plants, three heights, clean edge. It looks intentional because it is intentional. Tom Brownthumb calls this “the accidental professional” — it reads like you know what you’re doing even on your first attempt.

🛒 Gear Worth Having

GROWNEER 33FT Flexible Landscape Edging Kit with Stakes & Hammer — Everything you need to define the bed edge: edging, 30 galvanized spikes, and a hammer. No digging required.

EasyFlex No-Dig Landscape Edging, Stone-Look, 15-Foot Kit — The decorative option. Stone-look profile, anchors with spikes, easy to curve. Presentable from day one.

Fruivity 16-Variety Flower Seed Pack (Zinnia, Cosmos, Marigold, Coneflower, Bachelor’s Button & more) — Sixteen varieties in one purchase. Enough for back, middle, and front rows of a solid beginner bed.

As an Amazon affiliate, I earn from qualifying purchases. Thank you for supporting TangleWicket.

📖 Related Reads


TangleWicket is part of the WhistleBump group – find the rest of the family at WhistleBump.com.

36006

©2026 John D Reinhart/Tanglewicket.com – all rights reserved

Why Flowers Aren’t Just Pretty — They’re Doing a Job

Flowers aren’t decoration. They’re your garden’s hiring department — recruiting the bugs that make everything else work. Here’s what’s actually going on out there.

Tom Brownthumb thought flowers were the bonus round. You grow the vegetables, you water the tomatoes, and then, if everything goes well and you’re feeling fancy, you put some marigolds in. Decoration. A reward for competence.

This is not what flowers are.

Flowers are your garden’s hiring department. They post the job listings — in color, in scent, in nectar — and the right workers show up. If you skip the flowers, you skip the workforce. And a garden without a workforce is just a collection of plants that are increasingly on their own.

🐝 The Actual Job Flowers Are Doing

Pollination. That’s the job.

When a bee visits a flower for nectar, it picks up pollen on its body. When it visits the next flower, some of that pollen transfers. That transfer is fertilization — which is what produces fruit, seeds, and vegetables. No pollination, no tomatoes. No cucumbers. No squash.

Your vegetable garden is not self-sufficient. It is dependent on visitors, and flowers are how you invite them.

Bees are the most important visitors — but they’re not the only ones. Butterflies, moths, certain flies, and even wasps pollinate plants. Flowers attract all of them, in different ways, at different times of day. A garden with multiple flower types is a garden with a full crew, working different shifts.

🌼 Why Vegetable Gardeners Need Flowers

Most vegetables don’t self-pollinate reliably without help. Squash, cucumbers, melons, peppers, and tomatoes all benefit significantly from pollinator activity. The more pollinators visit your plants, the more fruit sets. The more fruit sets, the better your harvest.

Gardeners who grow vegetables next to flowering plants consistently report better yields than gardeners who grow vegetables alone. This is not anecdotal — it is the logical outcome of how plant reproduction works.

The pollinators don’t know they’re doing you a favor. They’re just getting lunch. You just happen to be the beneficiary.

🌿 Flowers That Pull the Most Weight

Not all flowers are equally attractive to pollinators. In general, native wildflowers outperform exotic ornamentals because local pollinators evolved alongside them. Single-petaled flowers beat double-petaled ones — double petals are harder to access and often produce less nectar.

The reliable performers for a beginner’s pollinator garden: marigolds (also repel some pests), zinnias, cosmos, black-eyed Susans, lavender, coneflowers, and borage. Borage in particular is a pollinator magnet and also happens to be edible.

Plant them near your vegetables, not in a separate bed on the other side of the yard. Proximity matters. The bee doesn’t want to commute.

📚 So What Do You Actually Plant?

Tom Brownthumb’s recommendation for starting out: a wildflower mix near your vegetable beds, a row of marigolds as a border, and a handful of zinnias wherever there’s room. That’s it. You’ve just hired a full pollinator crew for the season.

The flowers will handle the rest.

🛒 Gear Worth Having

Eden Brothers All Perennial Wildflower Seed Mix — 19 varieties, non-GMO, covers 250–500 sq ft. Plant near vegetables and let the pollinators sort it out.

HOME GROWN Annual Wildflower Mix (110,600+ Seeds) — 21 varieties including cosmos, black-eyed Susan, and bachelor button. Blooms first season.

Gardeners Basics 35-Variety Flower Seed Assortment — For the gardener who wants options. Individual labeled packets, heirloom, non-GMO.

As an Amazon affiliate, I earn from qualifying purchases. Thank you for supporting TangleWicket.

📖 Related Reads


TangleWicket is part of the WhistleBump group – find the rest of the family at WhistleBump.com.

36001

©2026 John D Reinhart/Tanglewicket.com – all rights reserved
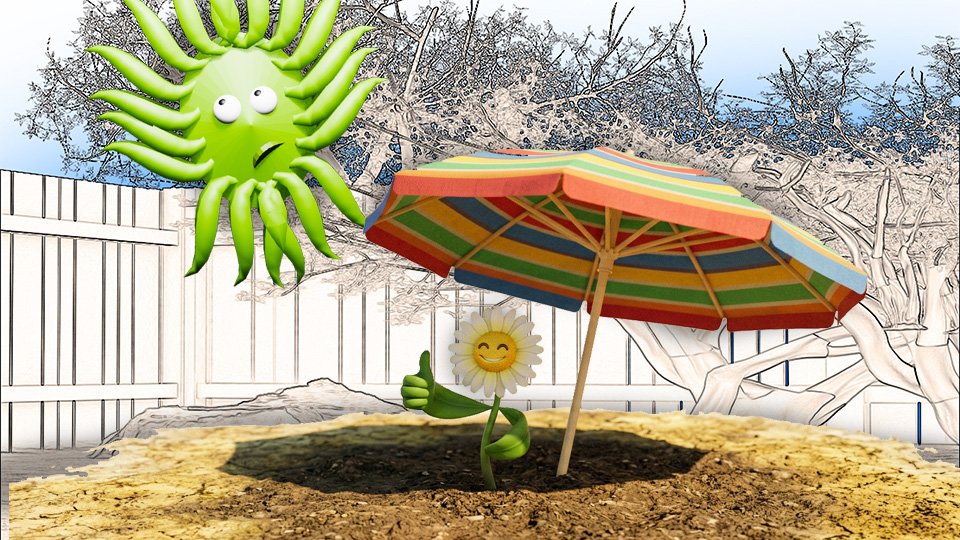
Sun Requirements: What Full Sun, Part Shade, and Full Shade Actually Mean

“Full sun,” “part shade,” “full shade” — every plant tag has one of these. Here’s what they actually mean, how to measure yours, and why planting in the wrong light explains a lot of garden failures.

Every plant tag, seed packet, and plant description specifies a light requirement. “Full sun.” “Part shade.” “Dappled light.” “Tolerates full shade.”

These terms sound definitive. They are less precise than they appear, and more important than most beginners realize. A plant placed in the wrong light condition produces poor results regardless of soil, water, or fertilizer. Light is not optional. It is the energy source for everything.

Here’s what each term actually means, how to assess the light in your garden, and what happens when the match isn’t right.

☀️ Full Sun

Definition: six or more hours of direct sunlight per day.

This is the requirement for most vegetable crops and many popular annuals and perennials. Tomatoes, peppers, beans, squash, cucumbers, and basil are full-sun plants. They need the energy from six-plus hours of direct sun to fuel the photosynthesis that produces the fruit, leaves, or flowers you’re growing them for.

What happens in less light: reduced yields, leggy growth (thin, stretched, sparse-leaved stems), delayed fruiting, increased disease susceptibility. A tomato plant in partial shade produces a fraction of the fruit of one in full sun. The plant is working with less energy and allocates it accordingly.

⛅ Part Sun / Part Shade

Definition: three to six hours of direct sun per day.

Part sun and part shade technically describe the same light condition. In practice, “part sun” suggests a plant that prefers more sun within this range, while “part shade” suggests one that prefers less. For most practical purposes, treat them as equivalent.

Plants suited to this range tolerate both conditions but usually prefer one end or the other. Lettuce, spinach, and most leafy greens do well in part shade — they can actually bolt (go to seed prematurely) in too much heat and sun. Many herbs and some fruiting plants manage in part sun.

🌚 Full Shade

Definition: fewer than three hours of direct sun per day, or no direct sun at all.

Very few edible plants thrive in full shade. This is primarily the territory of ornamental shade plants — hostas, ferns, astilbe, impatiens. If your intended vegetable garden location receives less than three hours of sun, the honest answer is that it is not a vegetable garden location.

The workaround: containers that can be moved to sunnier spots. A patio or deck that receives six hours of sun can host containers even when the ground nearby is shaded.

🔍 How to Assess Your Light

The most reliable method is observation rather than assumption. Spend one full day watching the light in your intended garden area.

Note when direct sun first hits the area in the morning, when shadows from structures or trees fall across it, and when direct sun ends in the afternoon. Count the hours of direct sun exposure. That is your light condition.

Common mistakes in assessing light: assuming that a south-facing location is full sun without checking for shadows from nearby trees, fences, or buildings. Shade from a neighbor’s tall fence may shade the area precisely during peak sun hours. What looks open may not be.

Check at midsummer conditions. The sun is higher in summer than in spring or fall. An area that receives six hours in July may receive only four in May. Vegetable gardens need the summer assessment.

🛒 Tools Worth Having

  • Sun calculator / light meter — Measures cumulative light exposure over the day and reports whether a location qualifies as full sun, part shade, or shade. More precise than observation for uncertain locations.
  • Shade cloth — For providing partial shade to plants that need it in unexpectedly sunny spots. Also useful for protecting heat-sensitive plants during summer.

As an Amazon affiliate, I earn from each qualifying purchase. Thank you for supporting TangleWicket.

✨ The Short Version

Full sun: six or more hours. Part sun/shade: three to six hours. Full shade: fewer than three. Vegetables need full sun. Leafy greens tolerate part shade. Almost nothing edible thrives in full shade.

Assess the actual light in your intended location rather than assuming. The observation is worth doing once correctly.

Tom Brownthumb planted tomatoes in a spot he described as “sunny enough.” It was not sunny enough. It was, in retrospect, a fern location. And the one resulting tomato was surprisingly pale.

📚 Related Reads


TangleWicket is part of the WhistleBump group – find the rest of the family at WhistleBump.com.

33008

©2026 John D Reinhart/Tanglewicket.com – all rights reserved

Ground Cover Plants That Do Your Weeding For You

The best weed control strategy is a plant that outcompetes weeds for space. Ground covers do your weeding for you — permanently. Here’s which ones work and where.

The most elegant solution to weeds is not a tool or a chemical or a technique. It’s a plant.

Ground cover plants spread to fill available space, outcompete weeds for light and soil, and once established, require almost no maintenance. They are the passive income of weed management: a one-time investment that pays back indefinitely.

Here’s how ground covers work as weed management — and the specific plants worth considering for different situations.

🤔 Why Ground Covers Work

Weeds colonize bare ground. Ground cover plants occupy that bare ground permanently and densely enough that weeds cannot establish. The ground cover is playing the same game as the weed — first to occupy the space wins — but the ground cover wins by design.

The establishment period: ground covers need one to two seasons to knit together into a dense weed-suppressing mat. During this period, the ground between newly planted ground cover needs mulching and hand weeding. After establishment, maintenance drops dramatically.

This is the key patience point. A newly planted ground cover does not suppress weeds immediately. It suppresses them eventually, and permanently. The investment is upfront.

🌿 Ground Covers by Situation

  • Shady areas under trees: pachysandra, vinca minor (periwinkle), sweet woodruff, wild ginger, liriope. These are the plants that solve the “nothing grows under the tree” problem that invites weeds. Dense, low-maintenance, and suited to the dry shade that most plants dislike.
  • Sunny slopes and banks: creeping juniper, cotoneaster, crown vetch, sedum. Slopes are difficult to mulch and impossible to mow efficiently. A woody or spreading ground cover stabilizes the slope and eliminates the mowing and weeding problem simultaneously.
  • Between stepping stones and in paths: creeping thyme, creeping phlox, brass buttons, Irish moss. Low-growing plants that tolerate light foot traffic, fill gaps between pavers, and eliminate the chronic weeding that path cracks require.
  • Garden bed edges and borders: lamb’s ear, ajuga, creeping Jenny, hostas in shade. Dense edge plants crowd out weeds at the bed margin where mulch is harder to maintain and hand weeding is tedious.

🚧 The Caution: Aggressive Spreaders

Some ground covers are so effective at outcompeting weeds that they outcompete everything else too. Mint, English ivy, and vinca are notorious for spreading beyond intended areas.

The rule: check the plant’s spread rate and invasiveness for your region before planting. A plant labeled “invasive” in your area should not be planted as a ground cover regardless of how effective it would be. It will eventually become the problem it was supposed to solve.

🛒 Ground Covers Worth Planting

  • Creeping thyme plants — Fragrant, low-growing, tolerates foot traffic, flowers in summer. Excellent between pavers and in sunny path edges.
  • Pachysandra starter plants — The classic shade ground cover. Dense, evergreen, fully weed-suppressing once established.
  • Sedum groundcover mix — For sunny slopes and dry areas. Drought-tolerant, low-maintenance, attractive.
  • Ajuga starter plants — Fast-spreading, shade-tolerant, attractive foliage and spring flowers. Excellent edge plant.

As an Amazon affiliate, I earn from each qualifying purchase. Thank you for supporting TangleWicket.

✨ The Short Version

Ground covers occupy space that weeds would otherwise claim. Establish them once, maintain during the establishment period, and let them suppress weeds permanently without further intervention.

Match the plant to the situation: shade, sun, slope, or path. Check invasiveness before planting.

Tom Brownthumb planted creeping thyme between his stepping stones. Three years later he has fragrant path edges, no weeds in the cracks, and occasional visitors who ask what smells so good.

📚 Related Reads


TangleWicket is part of the WhistleBump group – find the rest of the family at WhistleBump.com.

34007

©2026 John D Reinhart/Tanglewicket.com – all rights reserved