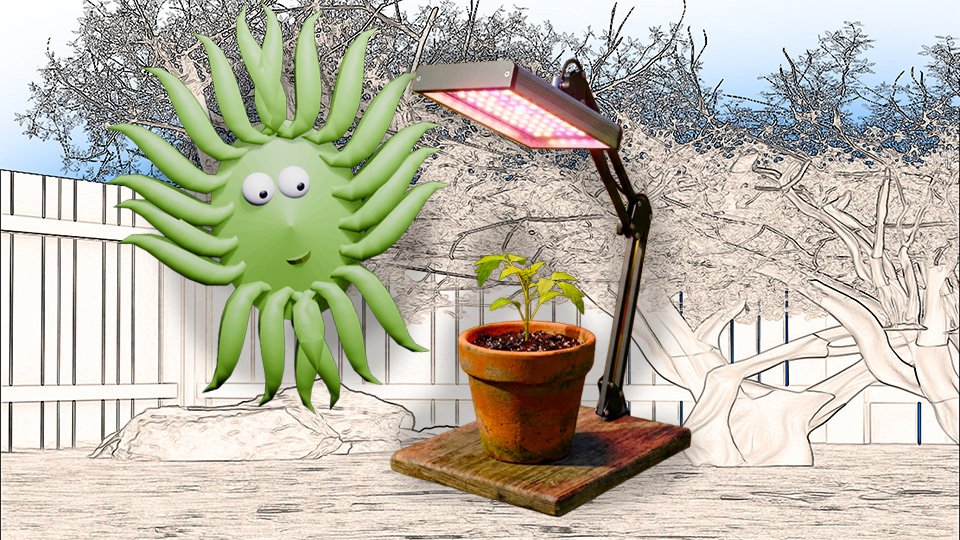
Every February, gardening content fills up with elaborate indoor seed-starting setups. Grow lights on adjustable chains. Heat mats in precise configurations. Humidity domes. Fertilizer schedules. It looks like a small-scale agricultural operation and it makes the whole enterprise feel impossible before you’ve bought a single packet of seeds.
Here’s what’s actually required: a small container, seed starting mix, light, water, and warmth. That’s the list. Everything else is optional infrastructure that experienced gardeners have accumulated over years.
Why bother at all? Some plants — tomatoes, peppers, eggplant, broccoli — need so many weeks to mature that they can’t be direct sown outdoors in most climates. Starting them indoors gives them a head start. By the time the last frost passes, you’re transplanting established plants instead of waiting for seeds to sprout.
🗓️ When to Start
Count backward from your last frost date. Most seed packets specify “start indoors X weeks before last frost.” Tomatoes and peppers typically want six to eight weeks. Broccoli and cauliflower want four to six.
Start too early and your seedlings outgrow their containers and become rootbound and stressed before they can go outside. Start too late and you’ve defeated the purpose. The seed packet knows the timing. Trust it.
☀️ The Light Situation
This is where most indoor seed starting fails. A sunny windowsill sounds adequate and usually isn’t. Winter light through glass, even south-facing, is rarely intense enough for seedlings. The result is “legginess” — seedlings that stretch toward the light, growing tall and thin and weak instead of short and stocky and ready for outdoor life.
The fix: a grow light positioned two to four inches above the seedlings, on for fourteen to sixteen hours a day. A basic shop light with daylight-spectrum bulbs works. A dedicated seedling grow light works better. Neither requires a significant investment.
Lower is better than higher for the light. Seedlings reaching for a distant light source get leggy. Seedlings with light practically touching them stay compact and strong.
🌡️ The Warmth Situation
Seeds germinate faster in warm soil. Most warm-season crops want soil temperatures of 70°F-80°F for reliable germination. The top of a refrigerator, which generates warmth, is a classic improvised solution. A seedling heat mat is the proper solution.
Once seeds have sprouted and you can see green, the heat mat becomes less critical. Room temperature is fine for growing on. The heat mat is specifically for the germination phase.
💧 The Watering Situation
Water from below when possible — set the tray in water and let the soil absorb moisture upward. This keeps the soil surface drier, which discourages damping off, a fungal problem that kills seedlings at the soil line.
Damping off looks like seedlings that were fine yesterday and are lying flat today, pinched off at the base. It’s caused by a combination of overwatering, poor air circulation, and wet soil surfaces. Bottom watering, a small fan for air movement, and not overwatering prevents it.
🛒 What to Buy
- Seedling grow light — The single most important indoor seed starting purchase. Legginess is the most common indoor seedling problem and adequate light is the only solution.
- Seed starting heat mat — Speeds germination reliably. Particularly important for peppers, which are slow and sulky in cold soil.
- Seed starting tray with dome and cells — The dome holds humidity during germination. The cells keep seedlings separated for easy transplanting.
- Seed starting mix — Lighter and finer than potting soil, designed for germination. Seedlings started in potting mix or garden soil struggle to emerge.
As an Amazon affiliate, I earn from each qualifying purchase. Thank you for supporting TangleWicket.
🌱 The Finish Line: When Do They Go Outside?
All of this indoor effort has one destination: the garden. Here’s how to know when your seedlings are ready to make the trip.
Watch the last frost date. That’s the anchor. Most warm-season seedlings — tomatoes, peppers, eggplant — go outside after the last frost date has passed, with a buffer of a week or two for safety. Cool-season seedlings like broccoli can go out earlier, since they tolerate light frost.
Watch the seedling. A ready seedling has its first set of true leaves — the second set that appears, which looks like the plant’s actual adult leaves rather than the rounded seed leaves it started with. It’s stocky, not leggy. It looks like something that could handle the world.
Harden off first. Don’t go straight from the grow light to full sun — that’s a shock the seedling doesn’t need. Spend a week introducing it to outdoor conditions gradually. A few hours outside in a sheltered spot, increasing each day. By the end of the week it’s ready for planting.
Skip the hardening off and the seedling will tell you about it immediately. Wilting, sunscald, a generally betrayed expression. Take the week.
✨ The Short Version
Start seeds indoors when the plant needs more weeks than your growing season provides. Provide adequate light — this is the critical variable most beginners underestimate. Keep the soil warm for germination. Water from below. Don’t start too early.
The setup does not need to be elaborate. It needs to be consistent.
Wicket started indoors once. Found it claustrophobic. You’ll do fine.
📚 Related Reads
- Seeds vs. Seedlings: Which Should a Beginner Buy?
- The Last Frost Date: What It Is and Why It Runs Your Life in Spring
- Transplant Shock: Why Your Seedling Looks Terrible and What to Do
Tanglewicket is part of the John D Reinhart content family. Writer, illustrator, videographer, and accidental filmmaker — find the whole story at JohnDReinhart.com.
30004
©2026 John D. Reinhart / tanglewicket.com/. All rights reserved.